重要なアクションを個別表示するフローティングアクションボタン
フローティングアクションボタン (Floating Action Button, FAB) は、マテリアルデザインで特徴的なボタンです。 ひとつのスクリーンでもっとも重要なアクションがある場合、フローティングアクションボタンでそれを促します。 例えば電話のアプリであれば電話をかけるとか、メッセージングアプリならメッセージを作成するといった、主要な動作を FAB を使って実装します。
に対してその名の通り FloatingActionButton ウィジェットで作成できます。
MaterialApp は floatingActionButton プロパティを持っています。 floatingActionButton プロパティに FloatingActionButton ウィジェットをセットすることで、 自動的に適切な場所に表示されます。
import 'package:flutter/material.dart';

void main() => runApp(
      MaterialApp(
        debugShowCheckedModeBanner: false,
        home: MyApp(),
      ),
    );

class MyApp extends StatefulWidget {
  @override
  State<StatefulWidget> createState() {
    return _State();
  }
}

class _State extends State<MyApp> {
  int _count = 0;

  @override
  Widget build(BuildContext context) {
    return Scaffold(
      appBar: AppBar(
        title: Text('FAB Test'),
      ),
      floatingActionButton: FloatingActionButton(
        child: Icon(Icons.add),
        onPressed: () => setState(() => _count++),
      ),
      body: Column(
        children: <Widget>[
          Expanded(
            child: Center(
              child: Text(
                '$_count',
                style: TextStyle(
                  fontSize: 48.0,
                ),
              ),
            ),
          )
        ],
      ),
    );
  }
}
また、ラベル付きの FAB は FloatingActionButton.extended で作成できます。
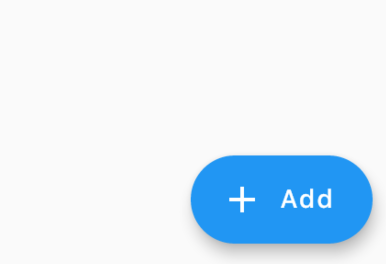
  @override
  Widget build(BuildContext context) {
    return Scaffold(
      appBar: AppBar(
        title: Text('FAB Test'),
      ),
      floatingActionButton: FloatingActionButton.extended(
        label: Text('Add'),
        icon: Icon(Icons.add),
        onPressed: () => setState(() => _count++),
      ),
      body: Column(
        children: <Widget>[
          Expanded(
            child: Center(
              child: Text(
                '$_count',
                style: TextStyle(
                  fontSize: 48.0,
                ),
              ),
            ),
          )
        ],
      ),
    );
  }
onPressed などは基本的なボタンの利用方法と同様ですので、 「レイズドボタン」なども参考にしてください。